MatterV Cluster Configuration
Configuring MatterV Cluster
After installing MatterV Cluster, follow these steps to configure it and add your first host.
Accessing the Admin Console
- Open your web browser and navigate to
https://your-matterv-cluster-ip-or-hostname:8543 - Enter username:
admin - Enter password:
password - Click Sign In

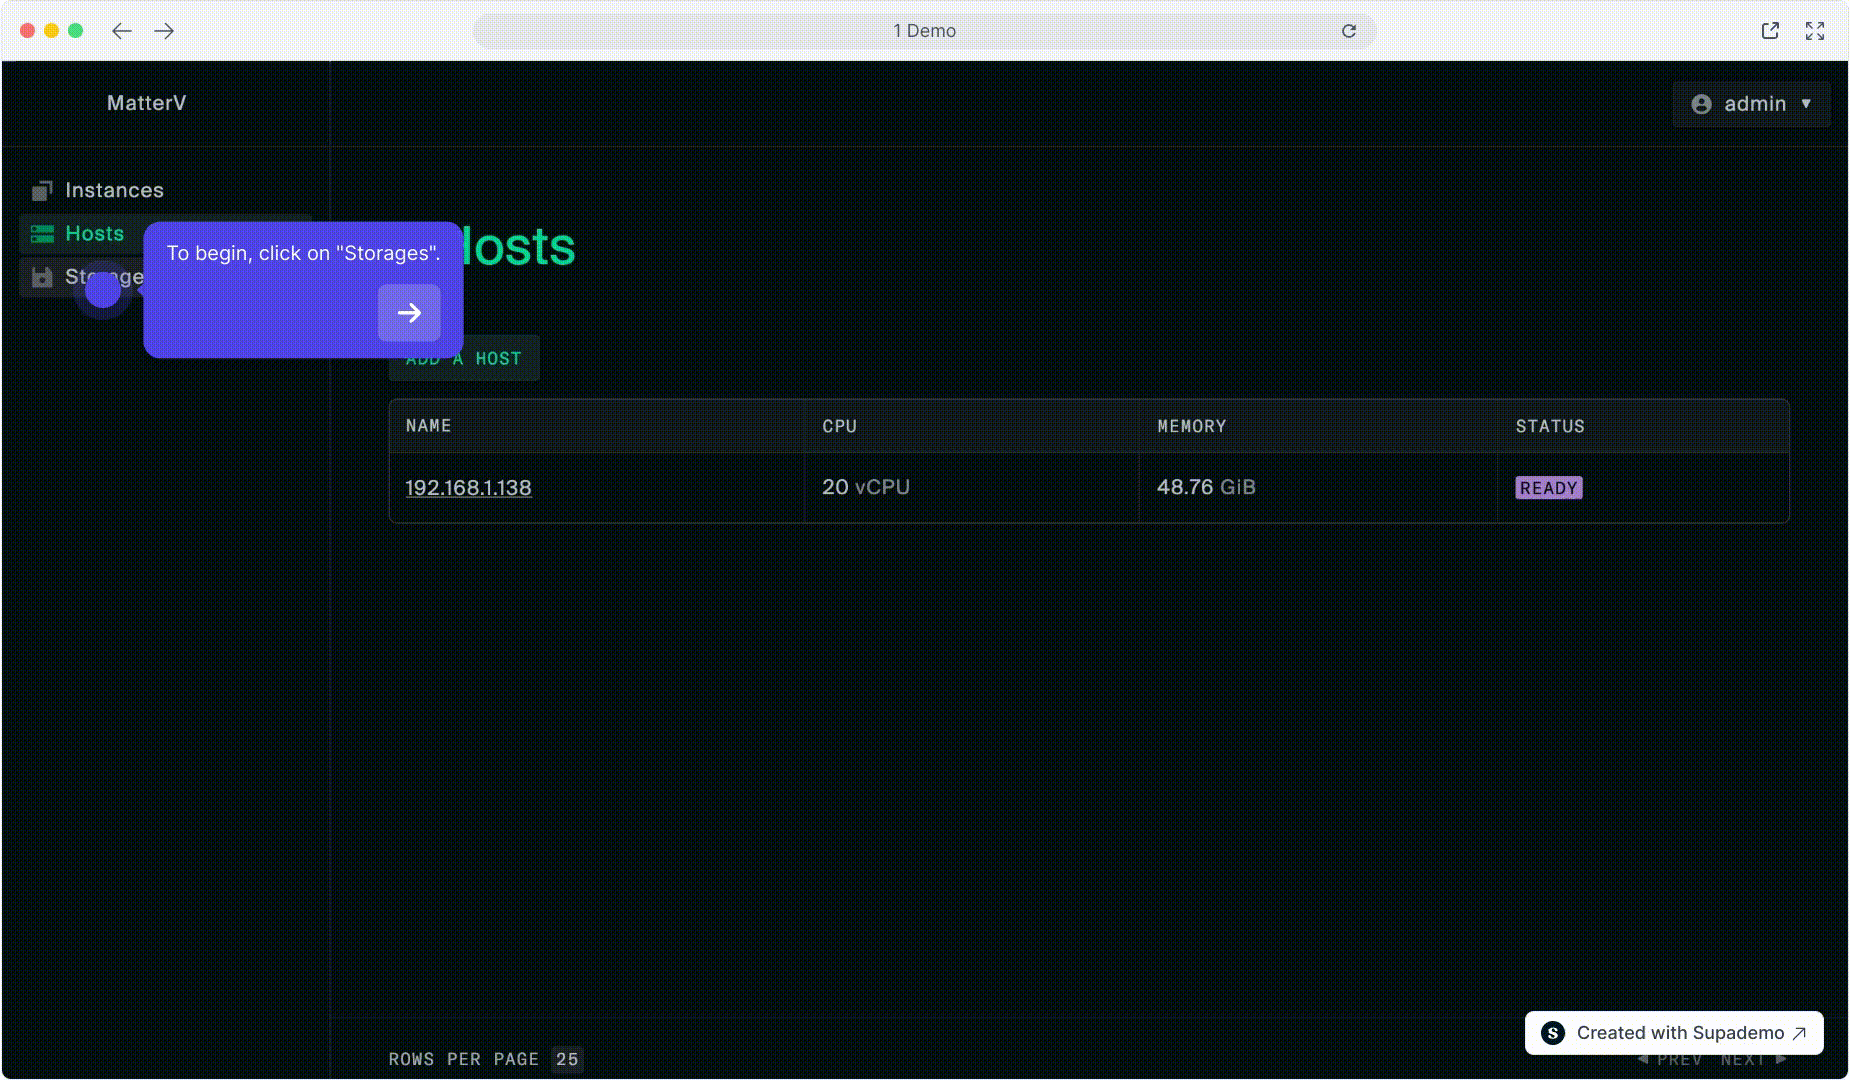
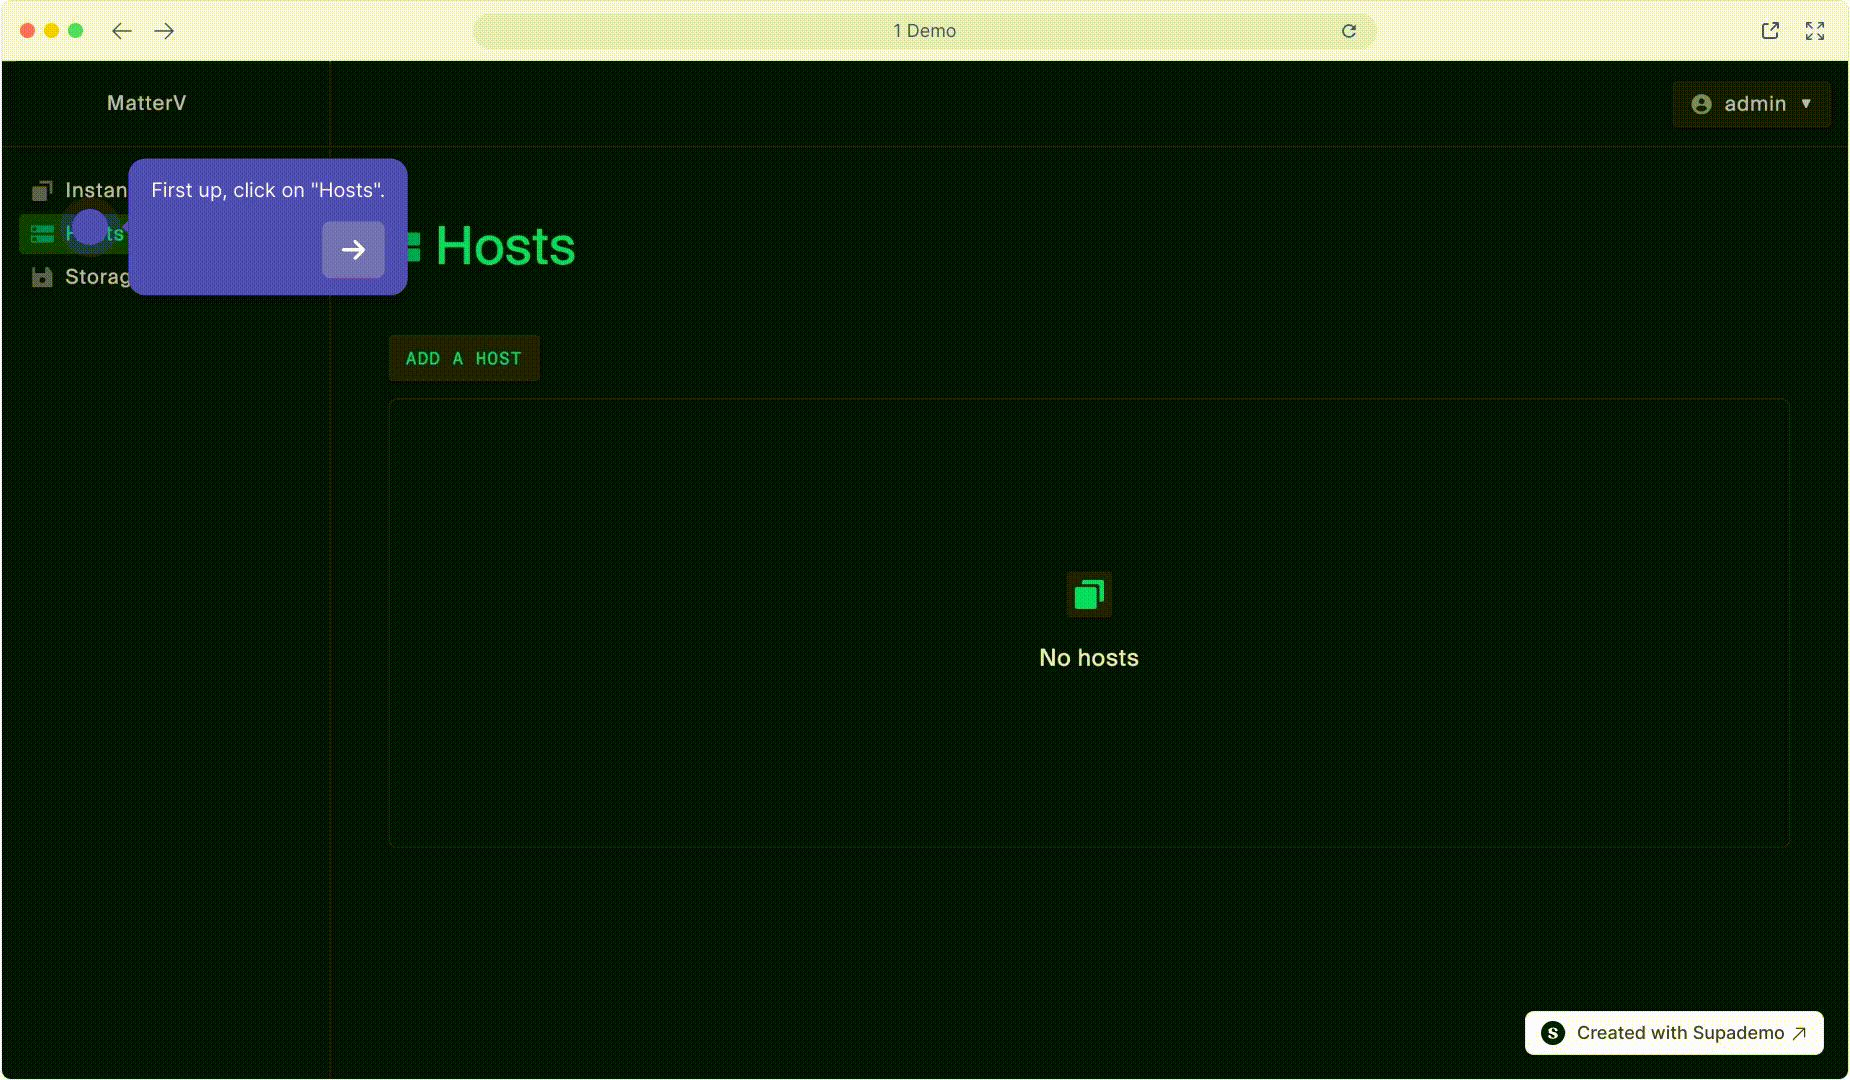
Adding a Host
- Navigate to the “Hosts” page in the left sidebar
- Click the “Add Host” button
- Enter the host address (IP or hostname)
- Verify port is set to 8443 (default)
- Click “Ok” to connect the host
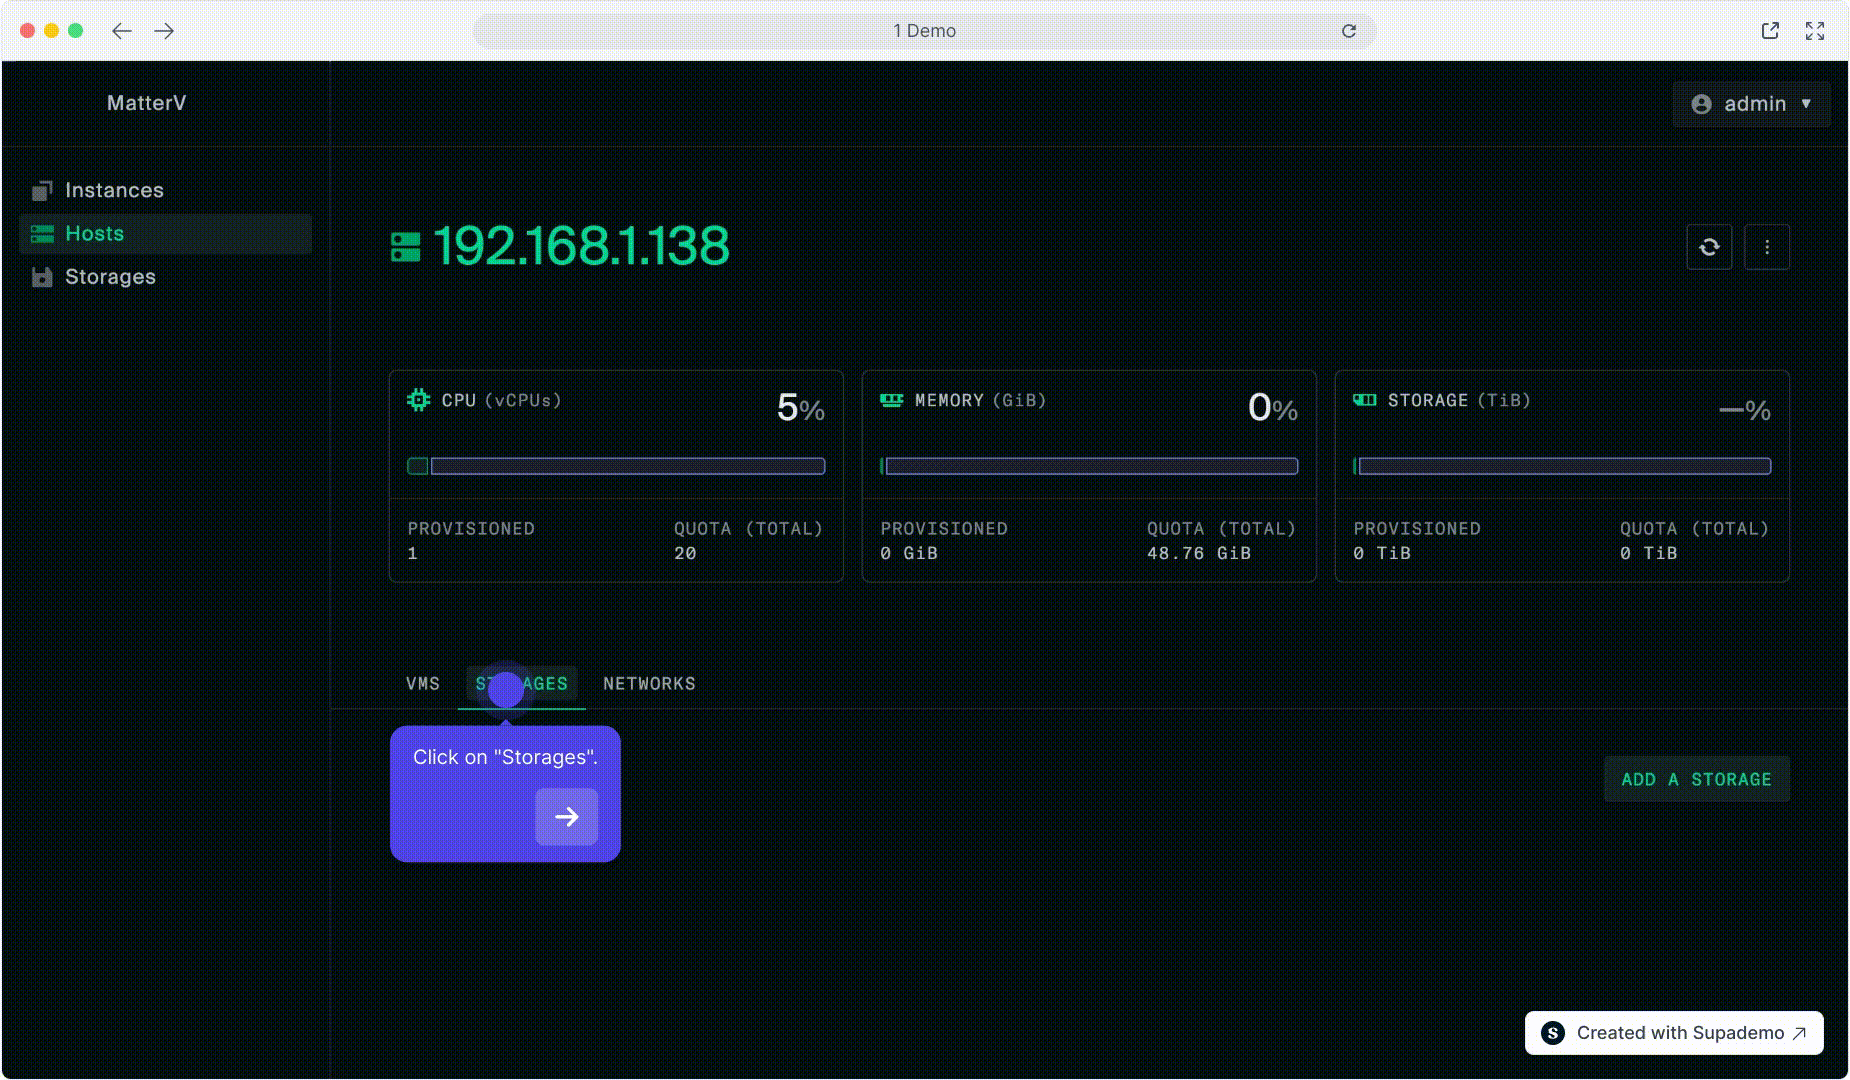
Configuring Host Storage
- Go to the host details page
- Click the “Add a Storage” button
- Enter the path to your data directory (e.g.,
/mnt) - Click “Add” to create the storage
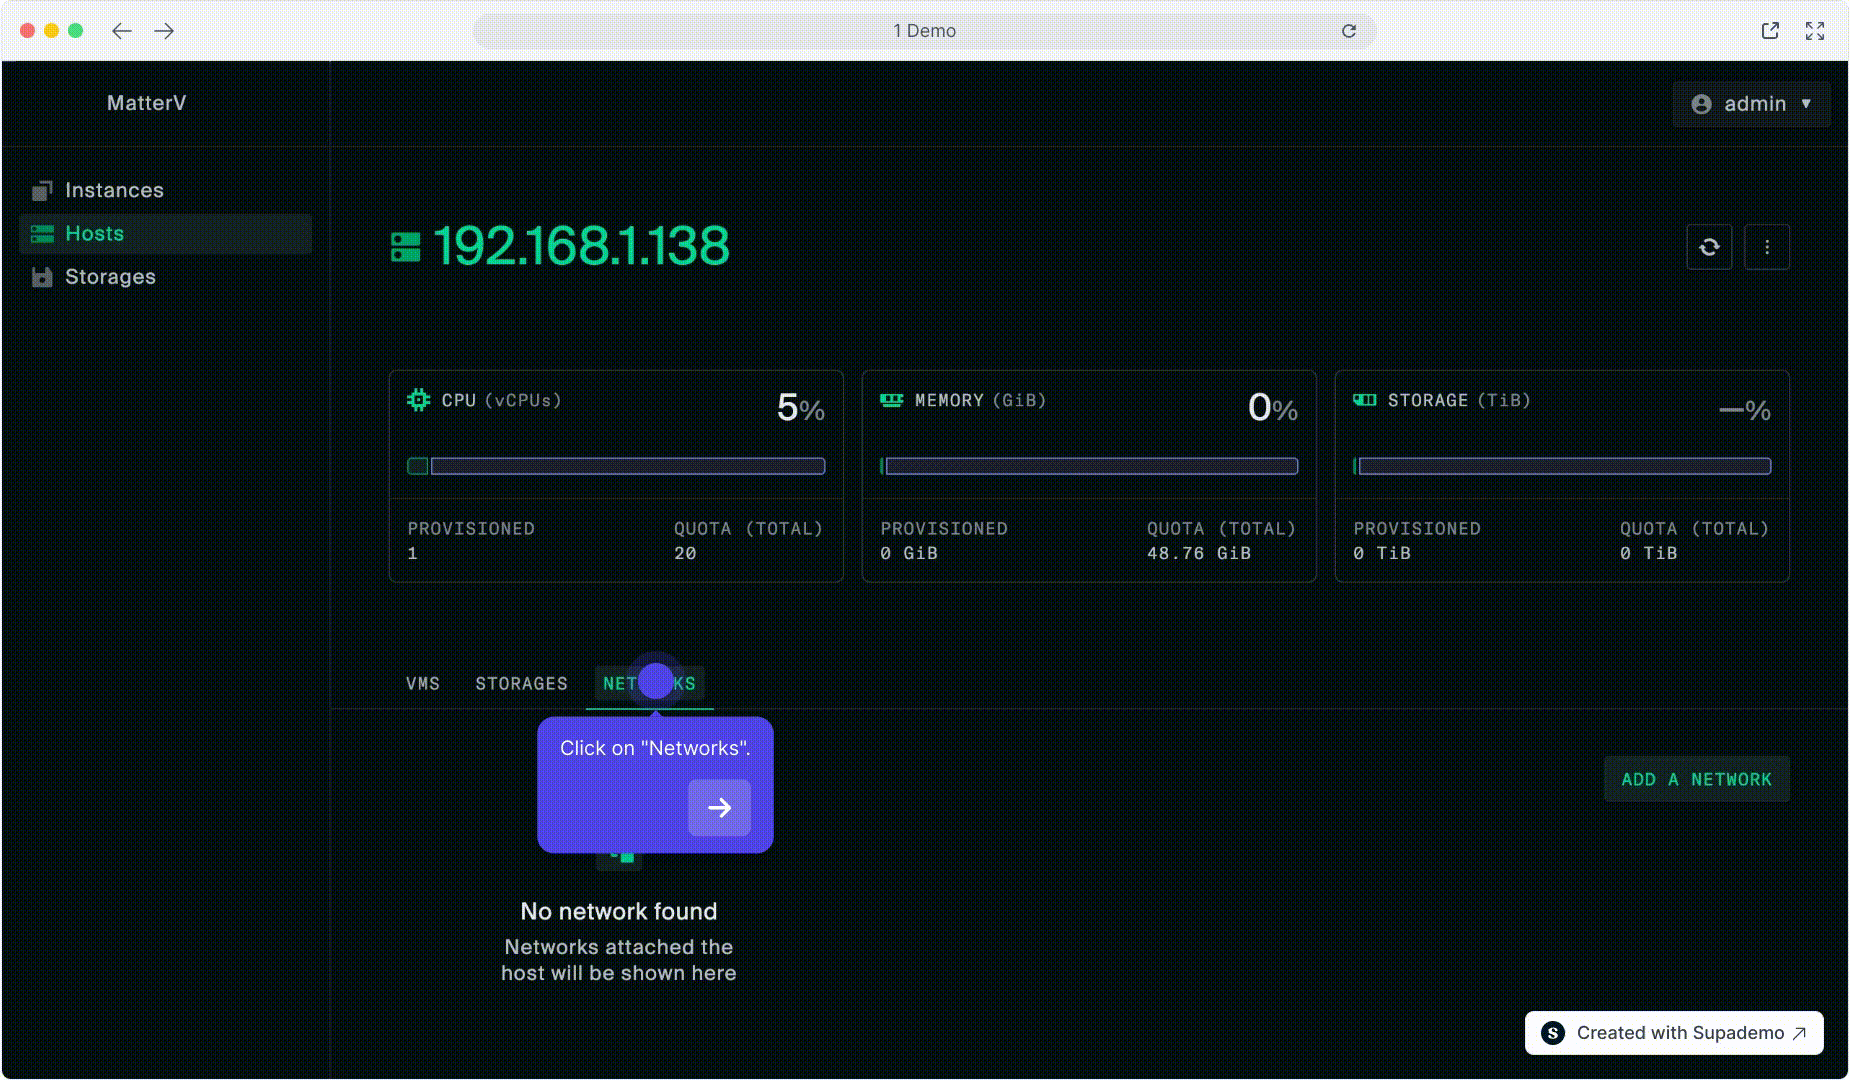
Configuring Network
- On the host details page, click “Add A Network”
- Select
virbr0from the network interface list - Click “Add” to enable the network
Uploading ISO Images
- Navigate to the “Storage” page
- Click “Create Directory” and name it
iso - Click on the newly created
isodirectory - Click “Upload File” and select an ISO image
- Wait for the upload to complete (do not refresh the page)